Manufacturing Process
Machining of Castings
- Machining
The gear casings are made of close-grained Cast Iron. The casings received as raw material undergo accurate machining on our lathe and UMA make West German horizontal boring Machine and a San Rocco Italian Horizontal Boring Machine. Both the Horizontal Boring Machines are equipped with an Accurate make Visual Read Out System which helps in maintaining center distance accuracy upto 5 microns.
-
Testing
Pressure testing under normal water pressure is conducted on the assembled castings for porosity check. Test certificates are obtained from our suppliers with regards to C.I. Grade.
Machining of Gears
- Testing
Each 16MnCr5/20MnCr5 bar is tested for chemical composition, to confirm elements and proportions of 16MnCr5/20MnCr5. These tests are conducted at Metallurgical Services laboratories in Mumbai. Destructive testing on forgings is conducted by us upon request from customer. Received bars and forgings are also accompanied with their respective test certificates from our supplier.
-
Machining
The round bars or forging undergo precise turning on a Center Lathe. Precise machining of external and internal key way is conducted either on slotting machine or our Center Lathe tool Post boring machine using a self-centering vice.
Hobbing
Gears are hobbed using Hobb Cutters Class ‘C’ as per DIN class Six tolerances. The worm shafts are manufactured on thread milling machine.
Case Carburising & Hardening
Gears are case hardened at our Vendor M/S Techno Gear Works – Valsad. Our vendor has a Fluid Therm Fluidized Bed Furnace. This furnace can perform carburising, carbonitriding, neutral hardening, tempering, normalizing annealing, and stress relieving. During Carburising case depth can be controlled. Our gears are case carburised for a case depth of 0.8mm – 1.0mm. Temperature uniformity +/- 3oC is controlled using thermocouples. For checking case depth they use a spy piece which is included with the charge in the furnace. For checking hardness they use a hardness tester. Gear hardness is maintained as follows:
Driving gears HRC – 58 to 62
Driven Gears HRC – 54 to 58.
Component Hardness
It is verified using our own Rockwell Hardness tester.
Profile Grinding of Gears
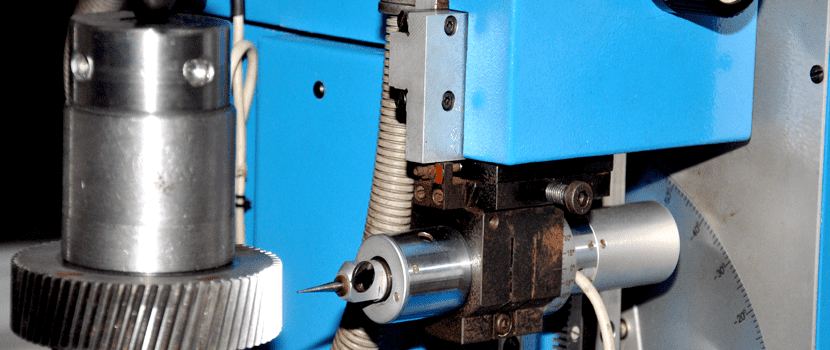
Some Gears are lapped and some are profile ground on our Niles WMW profile grinder and CSEPEL profile grinder equipped with angular measurement correction using a digital display support of Electronica Make 303L DRO to correct profile disturbance and pitch circle diameter run out observed by our HOFFLER EFRS 401 lead and profile tester.
TESTING OF GEAR MOTOR
The gear motor is mounted on a test bench. At no load conditions, the desired noise levels, backlash, and current drawing at the incoming voltage is Measured. Output speed is also compared as per ratio desired by customer. The gear motor is tested in an oil bath. Temperature rise measurements are taken after two hours of testing in both the directions. Adequate care is taken to prevent oil leakage. The entire gear box / motor assembly is tested to ensure that no unusual vibrations are observed. Test Certificates are issued with gearbox upon demand to our customers. Maxpower Gears is the largest gearbox manufacturer.
